Latest Firmware
Firmware Release Notes
resources
data sheets
Tech Notes
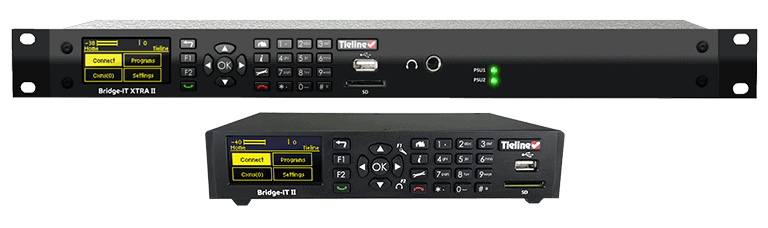
Bridge-IT II
Bridge-IT XTRA II
FAQs
IMPORTANT – Read about the two ways to upgrade your codec, depending on which firmware version you have installed:
To perform a firmware upgrade of your codec you need to:
- Check what version of firmware you are currently running. From the front panel go to Settings (Config in v1.xx.xx) > Unit and scroll down to Version. If your firmware version starts with v1.xx.xx then you need to download the special firmware upgrade installer to upgrade Bridge-IT codecs from v.1.xx to v.2.xx.xx. This can be downloaded from the RED Download button above.
- Please read the FAQ Upgrading Bridge-IT codecs from V1.XX.XX Firmware to V2.XX.XX Firmware below on how to upgrade using this tool. If you have a firmware version v2.xx.xx or above please continue with the steps below.
Getting Started
To perform a firmware upgrade of your codec you need to:
- Download the latest firmware to your PC or an SDHC card from the GREEN Download button on this page.
- Connect your PC to your codec to open the Toolbox web-GUI for your codec.
The web-GUI is used to perform the firmware upgrade from within the Settings panel. (This process has been tested using MS Internet Explorer and Mozilla Firefox.)
Update Firmware using the HTML ToolBox Web-GUI:
- Disconnect all connections before attempting the firmware upgrade.
- Attach an Ethernet cable to the LAN port on the codec.
- Press the SETTINGS button (Config in v1.xx.xx) on the codec front panel and select Unit > LAN to display the IP address in your codec.
- Ensure your PC is connected to the same LAN.
- Open your web browser and type the IP address of your codec into the address bar of your browser, e.g. http://192.168.0.xxx (the last digits are the private address details unique to your codec over a private LAN).
- Refresh the browser and the web-GUI application should launch automatically.
- When you open the Toolbox web-GUI an authentication dialog prompts you to enter a password to login. The first time you log in you can enter the default setting “password” and click the OK button.
- Click the Settings button at the top of the web-GUI screen if the Settings panel is not displayed.
- Click Firmware.
- Click Update from a selected file and click the Select File button.
- Select the .bin file you have downloaded to perform the upgrade and click Open.
- Press the Update Firmware button to commence the upgrade.
We recommend clearing your browser cache after the upgrade is complete when using the HTML5 Toolbox web-browser GUI to control codec functions. The short cuts for this are:
- Google Chrome: shift+Ctrl+delete
- Mozilla Firefox: Ctrl+shift+delete
- Internet Explorer: Ctrl+shift+delete
- Safari: Ctrl+alt+e
Updating Using an SD Card (requires firmware v2.16.xx or higher)
- Disconnect all connections before attempting the firmware upgrade.
- Insert a SDHC card with the latest firmware into the SD card slot on the front panel of the codec. Note: A single partition FAT32 formatted SDHC must be used.
- Press the SETTINGS button.
- Use the navigation buttons to select System and press the OK button.
- Navigate down to Firmware update from an SD and press the OK button. Note: it can take a few seconds for the SDHC card to be detected.
- Navigate to the firmware file after the SDHC card has been detected, then press the OK button.
- After the upgrade is complete the codec will automatically reboot.
To safely remove the SD card, press the SETTINGS button and select Reset/Backup > Safely Remove an SD before removing the SD card from the codec.
You can make IP connections to a different codec brand, e.g. Comrex, if the SIP protocol is used on codecs at both ends and the codec you are connecting to is EBU N/ACIP Tech 3326 compliant. You can start by configuring the most commonly used settings on both codecs as follows:
- Profile mono
- Bit rate 64k
- Algorithm G.722
- Session port 5060 UDP
- Audio port 5004 UDP
On newer firmware versions of Bridge-IT, Merlin, and Genie codecs the SIP Interface needs to be enabled first. There are two options to configure this:
- Using the Toolbox HTML 5 GUI select Transport > SIP Interfaces and select the Enable check-box, then click Save.
- Using the codec front panel press the Settings button and select SIP >Interfaces > SIP1 or SIP2 > Enable.
Note: The codec user manual has more information on connecting using SIP and using SIP servers. Alternatively, for more info see the codec Compatibility document under Tech Notes on the Support page for your codec at www.tieline.com.
- Download the Acer USB Ethernet/RNDIS driver
- extract the file to your PC
- right click and install the .inf file